Felt Embroidered and Appliqued Key Chain or Luggage Tag
These are the instructions for making the felt key chain like the one I made for The Man for his Valentines Day gift. Since I made the key chain without taking pics I had to make a new one to do the tutorial. Since he doesn't need another key chain I decided I'd make a luggage tag for The Mom because she will be going to Germany to visit The Brother and Family soon. ;) (Yes they all sound capitalized in my head as if they are titles.)
To get started you'll need some felt in various colors, a good sharp pair of scissors, some pins, a key ring, a pencil, a scrap sheet of paper, something round to make a template with, a two inch long piece of inch wide ribbon, an embroidery needle and some embroidery floss. If you don't want to free hand a design you can also find something on the internet to print or look in a coloring book.
The first thing you need to do is make your pattern. Trace your round object onto some scrap paper then cut it out. I used a candle that measured 2.5 inches across at the mouth for the key chain and a cup that measured 3.75 inches across the top for the luggage tag. Fold over the felt with enough room to lay the circle a half inch from the folded edge. I marked a notch on my template the width of my ribbon so I could make sure my tab would cover it up.
Now cut it out making sure to leave the tab connecting the two circles together in the middle. It is going to look something like a cross between a barbell and Elton Johns glasses. That tab in the middle is what is going to attach to the key ring, the ribbon is just for stabilizing it and making the tab stronger. You will want to cut out your shapes for the applique the same way only you won't use two layers.
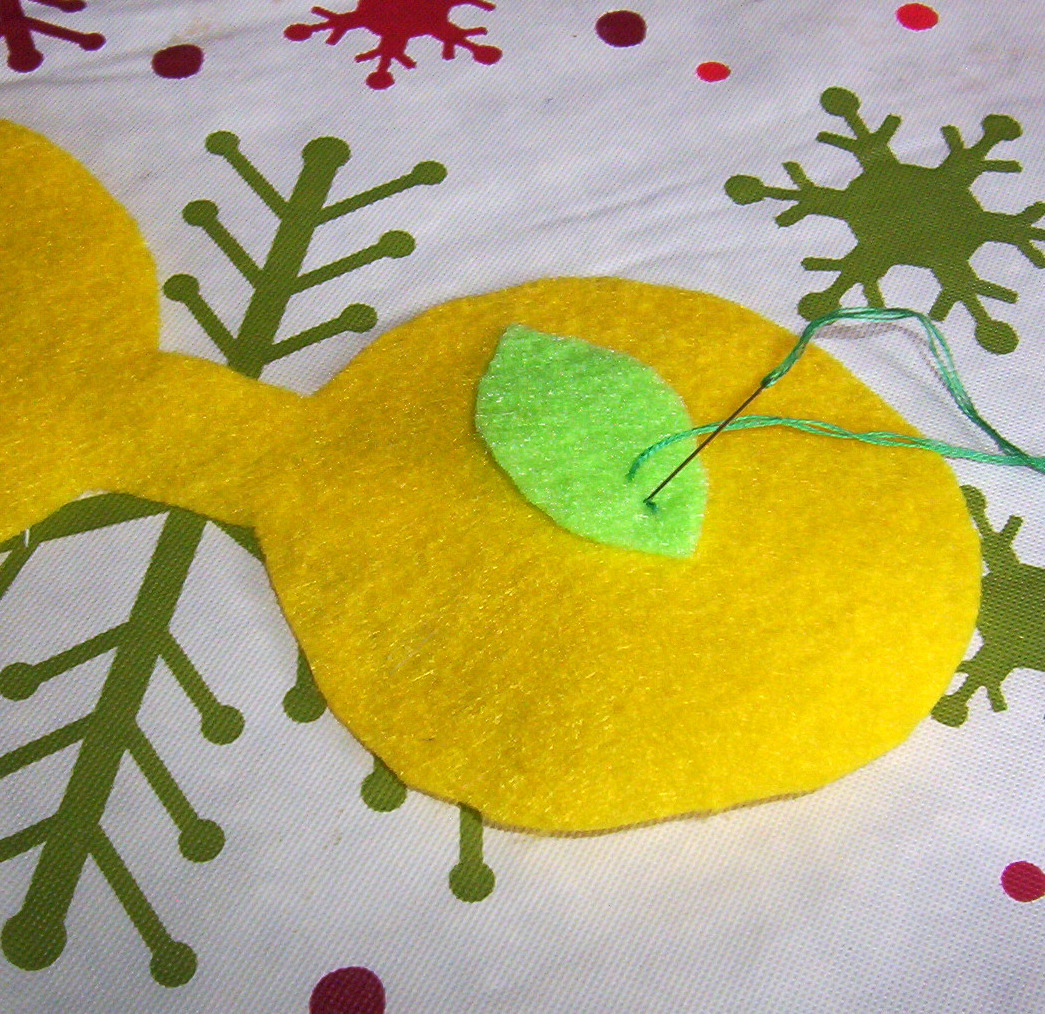
Now you need to check your shapes and figure out what layout you want to use. I did a purple flower with a green leaf under it and an orange center. I did this so that I could make sure that all of the pieces would fit onto the circle and work out where they would go before I started stitching them down.
I used a basic back stitch embroidery stitch here to stitch the pieces down and add some design to it by putting in veins, I also used a french knot in the middle to make some dots. The more stitching you use the more secure it will be but don't go over board with stitches. I also used the same back stitch to stitch her initials onto the backside of the tag. If you are putting letters on it I recommend lightly writing them onto the felt with a marker of the same or close to the same color as the floss you will be using.
Now you need to sew the ribbon onto the key ring so that it won't move while you are stitching the felt together around it. That isn't a very good pic but you get the idea of it. The stitch you use doesn't matter because no one will see it. All that matters is that it is secure on the key ring.
Next thing you gotta do is get the ring in the middle tab there. I rolled up the initialed side and put it through the ring. The appliqued side is too thick. Now you need to stitch the two sides together. You could pin them to make sure they don't shift while you are sewing but I find that felt sticks to itself so I don't need pins.
When you are starting your first stitch with a new piece of floss you should hide the knot between the layers. I don't know what the name of the stitch I used for the tag is but a regular back stitch has a sloppy side which I figured out with the key chain. Which ever way you decide to stitch it together is fine as long as it is neat on both sides.
Also remember to position the ribbon under the tab while you stitch so that it is hidden. The ribbon makes the tab stronger than felt alone. If you were hanging heavy keys off of it or if it got pulled on often the felt alone might tear.
Stay tuned for the tutes for a felt catnip toy and the fold top felt bag.


No comments:
Post a Comment